
Instructions on Utilizing Roofing Installation Certification
Filling out the Roofing Installation Certification form is a straightforward process. This form is essential for homeowners seeking a credit on their residential insurance premium. The following steps will guide you through the completion of the form.
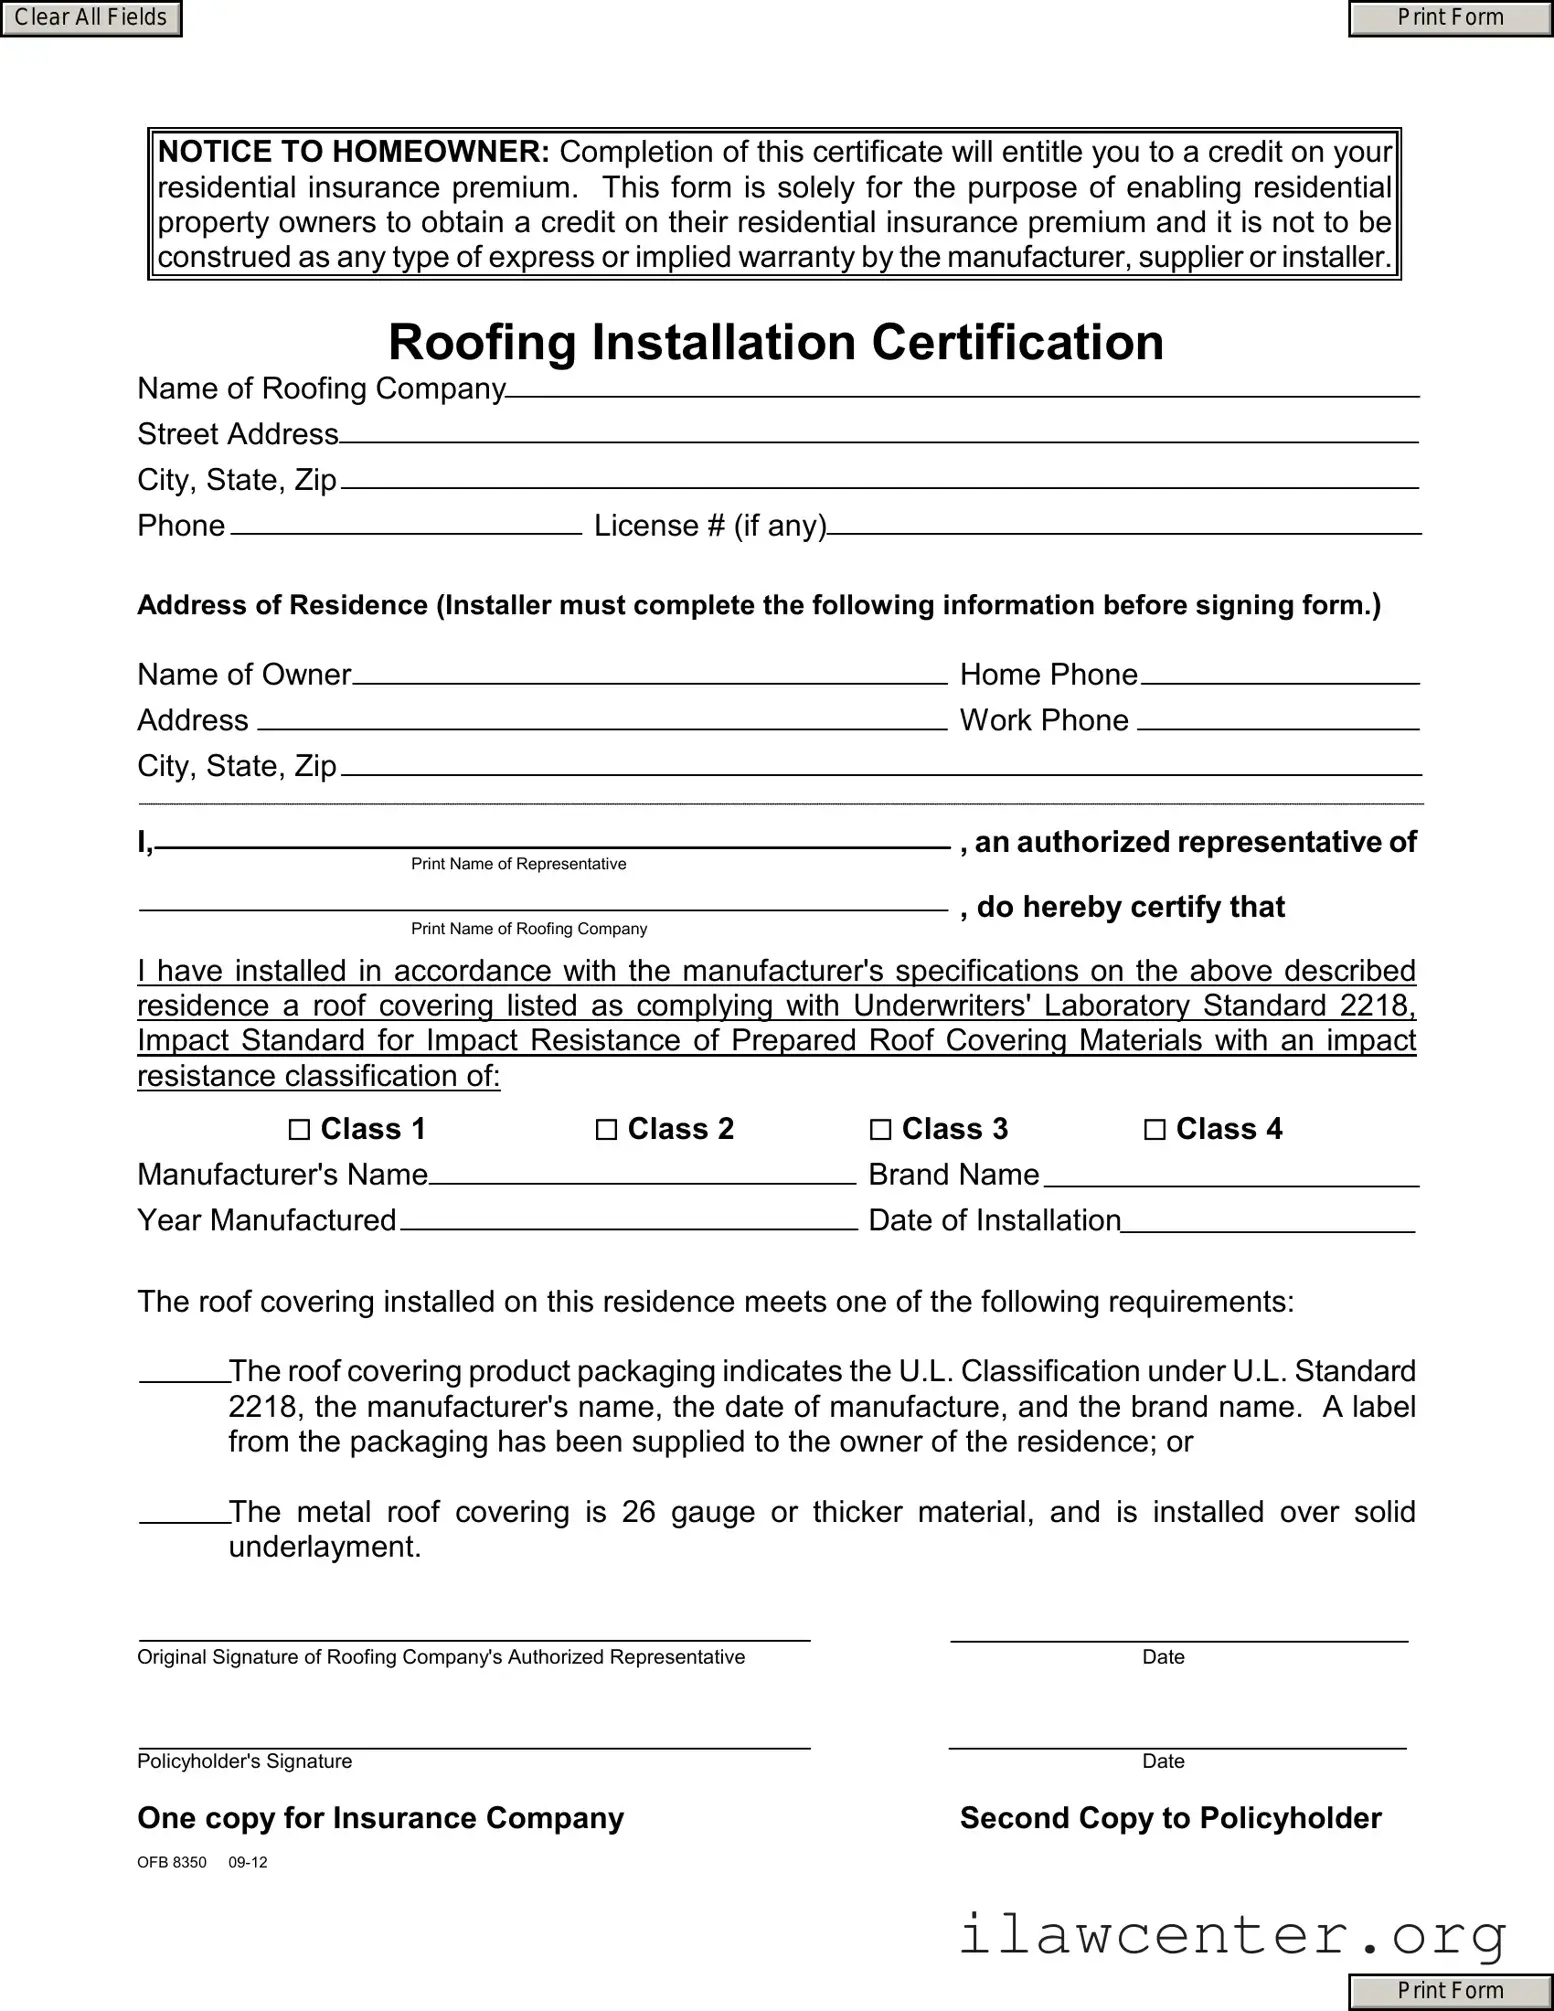
- Begin by clearing all fields on the form to ensure accuracy.
- Enter the Name of Roofing Company in the designated field.
- Provide the Street Address, City, State, and Zip code of the roofing company.
- Fill in the Phone number and License # (if applicable) for the roofing company.
- Next, enter the Address of Residence where the roofing work was performed.
- Complete the homeowner's information by providing the Name of Owner.
- Include the Home Phone and Work Phone numbers for the homeowner.
- Fill in the City, State, and Zip code of the residence.
- The authorized representative of the roofing company should print their name in the Print Name of Representative field.
- In the next section, indicate the roofing company name again in the Print Name of Roofing Company field.
- Specify the Manufacturer's Name of the roofing material used.
- Provide the Brand Name of the roofing material.
- Enter the Year Manufactured of the roofing material.
- Fill in the Date of Installation for the roofing work.
- Check the appropriate box to indicate the impact resistance classification of the roof covering: Class 1, Class 2, Class 3, or Class 4.
- Confirm that the roof covering meets the specified requirements by checking the relevant statements about product packaging or metal roof covering.
- The authorized representative must provide their Original Signature and the Date of signing.
- Lastly, the policyholder should sign and date the form as well.
- Make copies of the completed form: one for the insurance company and one for the policyholder.